Beginner Yoga Poses That Can Be Done From Home

February 26, 2023

You may be beginning yoga for a variety of different reasons — to become more fit or active, to destress, or possibly to become more balanced and relaxed. There are many various reasons to begin yoga, including the many health benefits that come with the practice.

For best results, practice yoga five to six times per week between half an hour to an hour each day. Some other lifestyle changes may need to be implemented alongside yoga, such as maintaining a healthy diet and controlling emotions by letting go of negativity and thinking positive, to reap all of its potential health benefits.

Warming Up
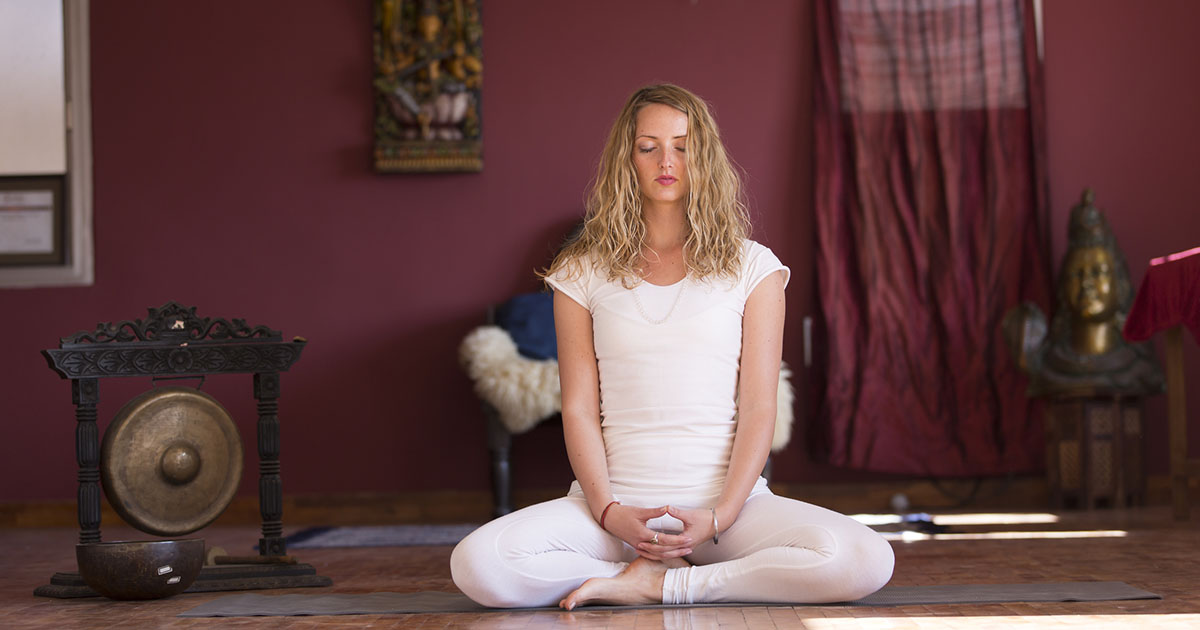
When you first beginning yoga it is best to use your Yoga Set Kit and to start each yoga session with a warm-up routine. To begin, concentrate on rhythmic breathing, a good practice is known as the box breathing technique or square breathing. Inhale for four seconds, hold your breath for four seconds, exhale for four seconds, and repeat. Concentrate on breathing for five minutes or so, and then continue your warm up by doing freehand stretching exercises. When your warm-up is complete, sit and concentrate on breathing for another five to ten minutes.

Child’s Pose
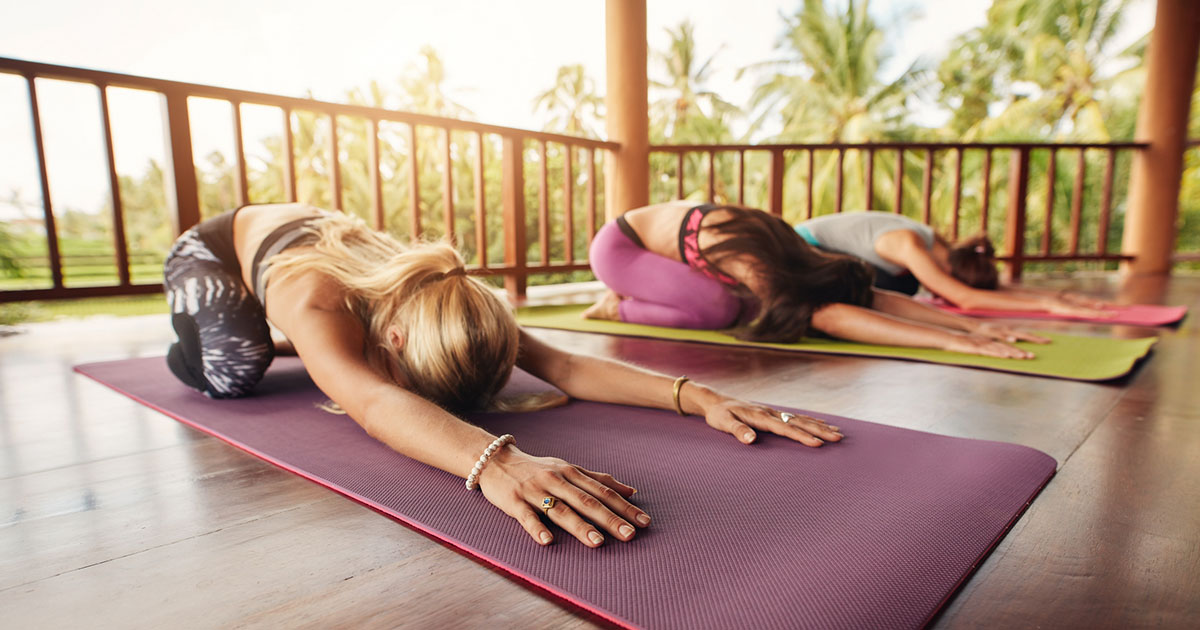
Balasana, more commonly known as Child’s Pose, is one of the easier yoga poses for beginners to learn. To get into Child’s Pose, get onto your knees and sit upright on your heels. Extend your torso forward until you can gently rest your forehead on the ground. Bring your arms forward and lower your chest to your knees, or as close as it remains comfortable. Hold the pose and practice breathing deep into your torso. Exhale and release to push into a deeper fold. Child’s Pose helps you relax and breathe into your back. It also stretches hips, thighs, and ankles, and may help relieve neck and back pain.

Mountain Pose

There are many benefits of Mountain Pose, which is also commonly referred to as its Sanskrit name, Tadasana. It can help improve posture, mental clarity, and is also a fantastic breathing exercise. To get into Mountain Pose, merely stand with your feet shoulder-width apart and spread your weight evenly. With your arms at your sides, breathe slowly and deeply. If you wish, you can raise your arms towards the sky as you inhale, which can add more of a stretch. It is also important to remember to keep your neck aligned with your spine.

Tree Pose

Tree Pose, also called Vrksasana, begins in Mountain Pose. When you are comfortable in Mountain Pose, shift your weight onto your left leg, and keep your hips facing forward. Place the sole of your right foot on the inside of your left thigh, finding your balance. Then put your hands in prayer position in front of your chest. Remember to repeat this using the other foot. If you would like to make this pose more difficult, reach your hands as high as you can, just as you would in Mountain Pose. Benefits of mastering Tree Pose include improvement in overall balance, and strengthening of ankles, calves, thighs, and spine.

Downward-Facing Dog

To get into Downward-Facing Dog, traditionally called Adho Mukha Svanasana, you must get on all fours with your hands and knees shoulder-and-hip-width apart. Walk your hands back towards your feet, spreading your fingers for more stability. Curl your toes, keep knees bent slightly, and gently push your hips upward so your body resembles an upside-down V. To get a stronger stretch, keep your heels on the floor, and alternate pressure from heel to heel. The benefits of Downward-Facing Dog are that it helps and encourages circulation of blood, and is an excellent stretch for calves and heels.

Upward-Facing Dog

To get into Urdhva Mukha Svanasana, commonly called Upward-Facing Dog, lie down with your chest against the floor. Position your thumbs under your shoulders, and extend your legs with the tops of your feet on the floor. Gently push your hips down as you squeeze your glutes. Keep your shoulders down as you push up and lift your chest off of the ground. Relax and repeat. The benefits of Upward-Facing Dog include improvements to posture, stretches and strengthens wrists, arms, and spine, and it can help relieve mild depression, fatigue, and sciatica.

Seated Twist

To assume a seated twist yoga pose, specifically Marichyasana III or Marichi's Pose in its third variation, simply sit on the floor and extend your legs out in front of you. Cross your right foot over your left thigh, bending your left knee while keeping your right knee pointed upwards. Place your right hand on the floor behind you to keep your stability and your left elbow on the outside of your right knee. Twist your torso as far as you comfortably can and hold the position for a short time. When you are finished, switch sides. By doing this seated twist, you will stretch your shoulders, hips, and neck. It is an excellent pose after a long day of work.

MORE FROM HealthPrep